Showing posts with label Glitter. Show all posts

Saturday, 22 February 2014

I'm Back! Red Gradient and Watermarble!

YAY! I'm back you guys! I finally had time to blog, which I never have nowadays *ahem* homework *ahem* But I'm back with a Watermarble mani!


Products Used:
For Watermarble: Ulta3 'Watermelon, Sinful Colors 'Soul Mate', Small Dotting Tool
For Gradient: Red and White Acrylic Paint, Small hex glitter and Circle glitter (can be found in my Links page!)
Seche Vite Top Coat


I post a lot more manicures on my Instagram (@divalicious01) so please make sure you follow me there! I recently hit 2000 followers! ^-^


What are your thoughts about this mani? Make sure to let me know down in the comments section! See you next time!


Tuesday, 7 January 2014

Pink Stamping Manicure using Bundle Monster CYO Set!

Hi guys! I hope you guys all had a safe and happy new year! :) My first post of the year will be a Pink Stamping Mani using the new Bundle Monster CYO Set! Click photos to enlarge.


More details after the jump! ^-^

Monday, 30 December 2013

Last post of the year - New Years Nails!

I can't believe how fast the year went! I've really learnt a lot this year. I'm looking forward to 2014! WOOHOO! To celebrate the new year, I've decided to do a New Years manicure! Click photos to enlarge :)


~ More details after the jump ~

Thursday, 26 December 2013

Pink Watermarble Nails

Hi guys! Today, I would like to show you my Pink Watermarble Nails! I hope you like them!


Products used:
Base colour = Mode Cosmetics 'Sweetness'
Watermarble colours = Jordana 'Pink Romance' and Avon 'Fuchsia' 
Pink Glitter
Sally Hansen 'Disco Ball'
La Belle 'Vanilla Ice'
Seche Vite Top Coat


Tutorial
1. Apply light pink polish and let dry COMPLETELY!
2. Apply Iridescent Glitter *OPTIONAL*
3. Place tape on half of your nail and around your nail.
4. Start watermarbling. Do any design you want to.
5. Take off tape before polish dries.
6.Apply clear nail polish on middle of nail and start applying pink glitter vertically.
7. Apply 1-2 coats of Top Coat. I used Seche Vite.


I hope you guys liked this mani!


Saturday, 14 December 2013

Jelly Sandwich aka Faux Indie Polish!

Hey guys! Today, I'm going to show you (well, tell you.. I didn't take any step-by-step pics >.<) how I did these Glitter Jelly Sandwich Nails which I've renamed, Faux Indie Polish!


Click Photos to Enlarge!


Products used:
White Jelly Polish
Glitter - Assorted Shapes, Sizes and Colours (LINKS PAGE!)


Tutorial:
Step 1) Apply one coat of White Jelly Polish.
Step 2) Whilst the polish is still wet, apply glitter using a toothpick or small dotting tool + Clear nail polish or Vaseline. Try not to put the same colour next to each other.
Step 3) Let that dry completely.
Step 4) Repeat Step 1 and 2
Step 5) Add your final coat of White Jelly Polish.
Step 6) Let that dry COMPLETELY so that when you add topcoat, the layers underneath won't be tacky.
Step 7) Apply top coat. I recommend a fast drying one like Seche Vite.

And you're DONE!


Thanks for reading!


Tuesday, 10 December 2013

Iridescent Nails

Ever since I got my glitter packages I bought for my birthday (Links on my Links page), I've been playing with them whenever I have time! I AM SO OBSESSED!


Products used: (LINKS IN MY LINKS PAGE!)
Colours = Sinful Colors 'Be Happy', Mode Cosmetics 'Sweetness', Chi Chi 'Capital H.I.M' and Kleancolor 'Pastel Orange'
White Striping Tape 
Iridescent Glitter
Seche Vite Top Coat 


Now for some Macro pics!


Thanks for reading!


Friday, 6 December 2013

I'm quitting Stamping Month! Reptile Nails

Hi guys! Today, I would like to show you my final manicure for Stamping Month. The reason is, after Watermarble Month, I was DESPERATE to do different forms of nail art. Now that I started Stamping Month, I'm limited to what tools I use. I just want to be able to use my striping tape, brushes and glitter, not just a stamping plate, a scraper and a stamper. I'm really sorry :( I hope you enjoy these Reptile-ish nails! I will not be quitting Stamping ENTIRELY, just Stamping Month.


Products used:
BYS 'Antique Gold'
Mode 'Vicious Venom'
Face of Australia 'You Blew Me Away' + Sinful Colors 'Hottie'
Stamping Polish: Kleancolor 'Black'
XL Stamper
Cheeky Jumbo Plate D


Click photos to enlarge :)


Thanks for reading :)


Wednesday, 4 December 2013

Floral Nails

Hi Guys! Hope you're having a good day :) Similar to Watermarble Month, I decided to do Stamping Month! This means that the only nail art I will be doing will be stamping manicures! The first manicure I did was a Floral manicure!


Products used:
XL Stamper - Search on eBay
Mega Nail Art Plate - Can be found in the Links page
Base colour - Mode 'Sweetness' + Sally Hansen Xtreme Wear 'Disco Ball'
Stamping Polish - Sinful Colors 'Snow Me White'
Top Coat - Seche Vite Fast Drying Top Coat


Thanks for reading!


Saturday, 19 October 2013

Stripes w/ Some Stamping Nail Art and Glitter Accent

WOOT! The weekend's here! I hope you guys are having fun!
Anyway, today I would like to show you my mani for the weekend! It was supposed to be a Paris inspired nail art but I failed >.< UGH I was so excited to see the finished product but it looked ugly :( It looked WAY better when I was practising! (Check my Instagram [@divalicious01] to see my practice Paris nail art)


The only stamping I did is on the pinky which is the bow and the heart. The stamping plate I used is the Bornprettystore Hello Kitty Stamping Plate.

Products used - 
Base for Index, Middle and Pinky = Revlon - Temptress and Sinful Colors - Easy Going mixed with a little bit of pink :)
For the big heart and dots = Black Acrylic Paint
Stamping Polish = Kleancolor - Black
Ring Finger - Kleancolor - Pearl Silver, Sinful Colors - Queen of Beauty, Silver Hex Glitter (Link can be found in my links page)
Striping Tape (Link can be found in my Links page)

Thanks for reading!


Monday, 19 August 2013

Loose Glitter Nails

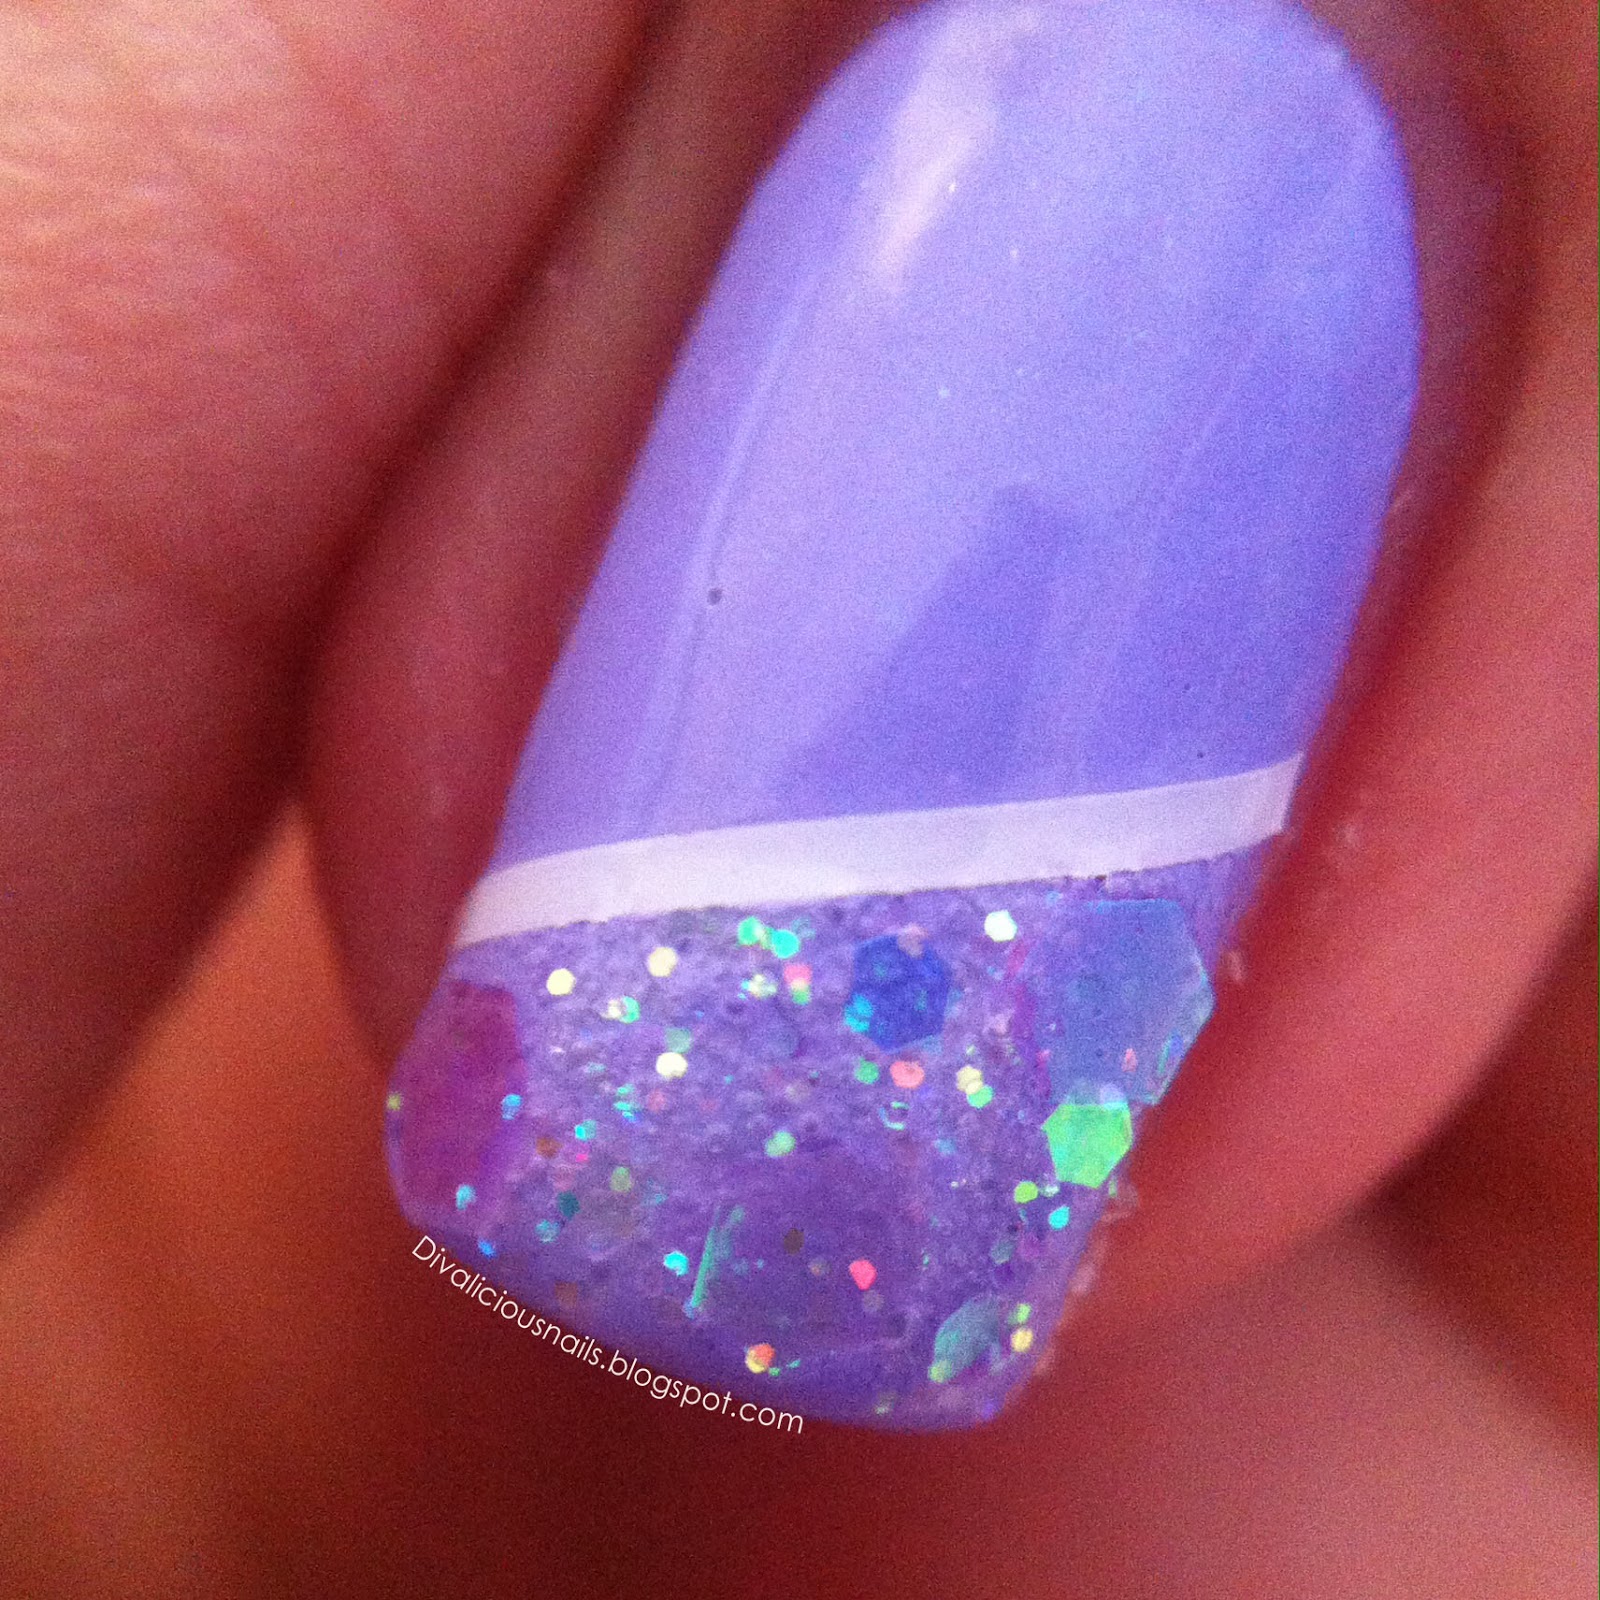
Hi guys! So today, I did a mani using pastel colours and regular old loose glitter from the dollar store!
If you want to know how I did it, click here (Crd: http://beaut.ie)
*Sorry for the slightly blurry pics! I was being very careless when I took these photos


Click Read More to see more pictures of this mani!

Wednesday, 14 August 2013

Pink Fishtail Mani

I hope you had a great week guys! Today I have a Fishtail mani! I was debating whether to post this or not because, believe it or not, it took me TWO HOURS just to get to this mani! My first idea failed, I used polish remover, second idea failed, remover, third idea... you guessed it, FAIL, remover... this goes on for about 50 times and on the 51st idea, I finally made a mani I was satisfied with.

So here it is! I hope you like it!


I used striping tape and applied it in a fishtail pattern.
The glitter is actually supposed to be holographic but I had bad lighting :(

Thanks for reading!
Sophia

Friday, 9 August 2013

2 Manis! + Macro Swatches (PIC HEAVY!)

I hope you guys had a good day, if you didn't, I hope this post will make you feel better!

So I forgot to post my mani from yesterday and I did another one today... Woops! >.< And I'm having SO MUCH FUN with my new Macro Lens! Click here for the direct link. Shipping was relatively fast, came 1 (one) week before the expected date!

Here's a sneak peek of the two manis! ;) Click read more to see the full mani!


Wednesday, 7 August 2013

Pink + Glitter Mani!

Good Evening/Afternoon/Morning wherever you are! Today, I have a pink and glitter mani!

I used BC Co, Shade 8 for the lightest shade, Sinful Colors Soul Mate for the coral shade and Avon Fuchsia for the dark shade. Then I used some glitter pieces I got from Bornprettystore.

I sort of have a love-hate relationship with this mani. It looks way worse in real life. :/ The glitter pieces just look weird and random but in the photo, it looks awesome!

I ALSO just got my macro lens and I'm having so much fun with them! Expect to see a lot of swatches soon!


Thanks for reading!
Sophia