Tuesday, 7 January 2014

Pink Stamping Manicure using Bundle Monster CYO Set!

Hi guys! I hope you guys all had a safe and happy new year! :) My first post of the year will be a Pink Stamping Mani using the new Bundle Monster CYO Set! Click photos to enlarge.


More details after the jump! ^-^

Monday, 30 December 2013

Last post of the year - New Years Nails!

I can't believe how fast the year went! I've really learnt a lot this year. I'm looking forward to 2014! WOOHOO! To celebrate the new year, I've decided to do a New Years manicure! Click photos to enlarge :)


~ More details after the jump ~

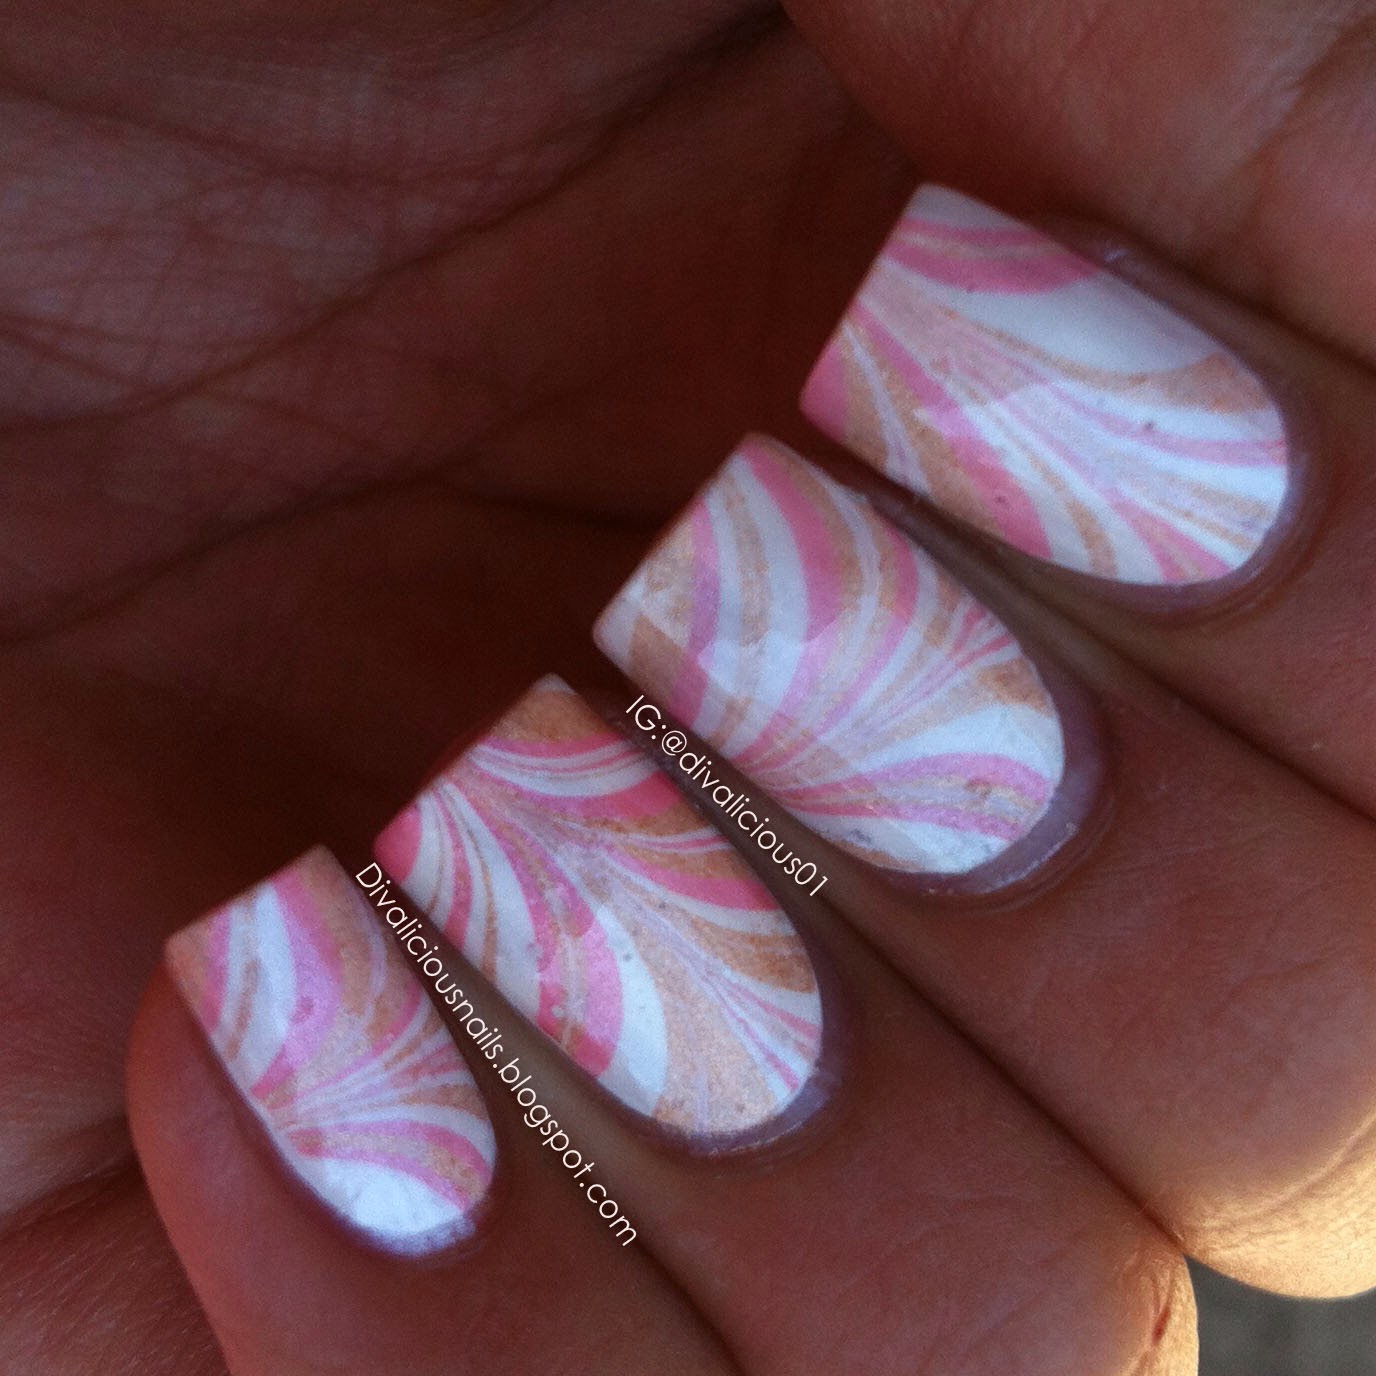
Metallic Watermarble

Hi guys! Today, I would like to show you my Metallic Watermarble manicure! Click photos to enlarge :)


Sunlight Shot

Products used:
Small dotting tool
Base colour - Sally Hansen Insta-Dri 'Whirlwind White'
Watermarble Colours - Mode Cosmetics 'Pearl', 'Fresh Melon' and Glitzy Glam.
Seche Vite Top Coat


I hope you enjoyed these nails! Thanks for reading <3


Thursday, 26 December 2013

Pink Watermarble Nails

Hi guys! Today, I would like to show you my Pink Watermarble Nails! I hope you like them!


Products used:
Base colour = Mode Cosmetics 'Sweetness'
Watermarble colours = Jordana 'Pink Romance' and Avon 'Fuchsia' 
Pink Glitter
Sally Hansen 'Disco Ball'
La Belle 'Vanilla Ice'
Seche Vite Top Coat


Tutorial
1. Apply light pink polish and let dry COMPLETELY!
2. Apply Iridescent Glitter *OPTIONAL*
3. Place tape on half of your nail and around your nail.
4. Start watermarbling. Do any design you want to.
5. Take off tape before polish dries.
6.Apply clear nail polish on middle of nail and start applying pink glitter vertically.
7. Apply 1-2 coats of Top Coat. I used Seche Vite.


I hope you guys liked this mani!


Wednesday, 18 December 2013

Stamping over Neon nails!

Hi guys! Now that school has finished for the year, I now have time for more nail art! Today, I would like to show you my Neon stamped nails! Click the photos to enlarge.


Products used:
Base colour - Sally Hansen Insta-Dri 'Whirlwind White'
Mode Cosmetics - Love Me
Mode Cosmetics - Say Cheese
Mode Cosmetics - Rave'n
BYS - Fatal Attraction (Neon Green which is NOT ACCURATE IN THE PICTURE!)
Stamping Polish - Kleancolor 'Black'
Cheeky Jumbo Plate D
XL Stamper


Tutorial:
1. Gather all your neon polishes that you want to use.
2. Apply them in a window pattern. Does NOT need to be perfect!
3. Clean up if needed.
4. Apply your black stamping polish to stamping plate, scrape, pick up and apply to nails.
5. Wait a few minutes before adding top coat.
6. DONE!


Thanks for reading!


Saturday, 14 December 2013

Jelly Sandwich aka Faux Indie Polish!

Hey guys! Today, I'm going to show you (well, tell you.. I didn't take any step-by-step pics >.<) how I did these Glitter Jelly Sandwich Nails which I've renamed, Faux Indie Polish!


Click Photos to Enlarge!


Products used:
White Jelly Polish
Glitter - Assorted Shapes, Sizes and Colours (LINKS PAGE!)


Tutorial:
Step 1) Apply one coat of White Jelly Polish.
Step 2) Whilst the polish is still wet, apply glitter using a toothpick or small dotting tool + Clear nail polish or Vaseline. Try not to put the same colour next to each other.
Step 3) Let that dry completely.
Step 4) Repeat Step 1 and 2
Step 5) Add your final coat of White Jelly Polish.
Step 6) Let that dry COMPLETELY so that when you add topcoat, the layers underneath won't be tacky.
Step 7) Apply top coat. I recommend a fast drying one like Seche Vite.

And you're DONE!


Thanks for reading!


Tuesday, 10 December 2013

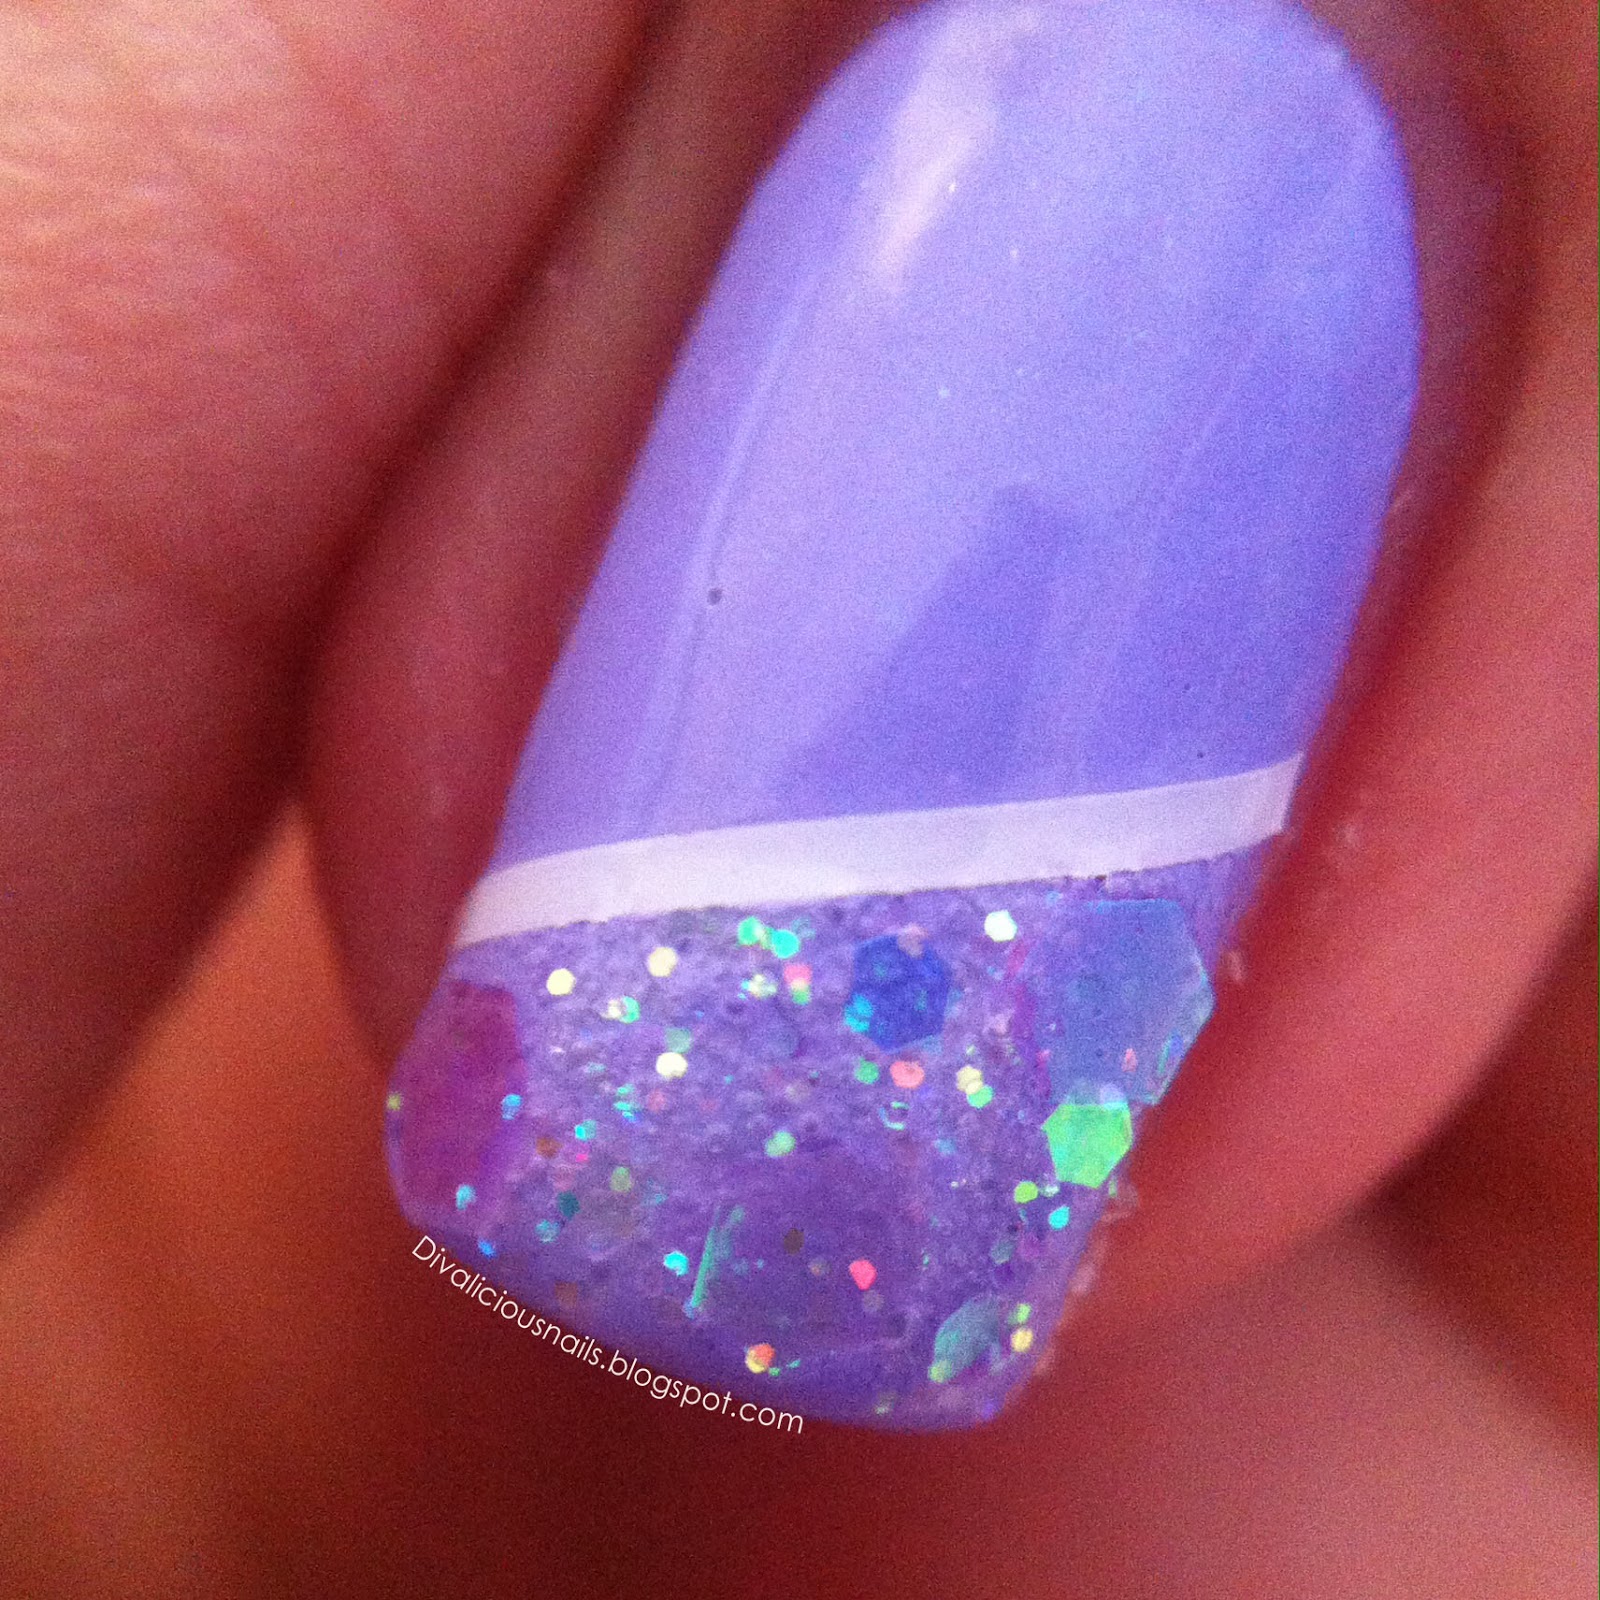
Iridescent Nails

Ever since I got my glitter packages I bought for my birthday (Links on my Links page), I've been playing with them whenever I have time! I AM SO OBSESSED!


Products used: (LINKS IN MY LINKS PAGE!)
Colours = Sinful Colors 'Be Happy', Mode Cosmetics 'Sweetness', Chi Chi 'Capital H.I.M' and Kleancolor 'Pastel Orange'
White Striping Tape 
Iridescent Glitter
Seche Vite Top Coat 


Now for some Macro pics!


Thanks for reading!